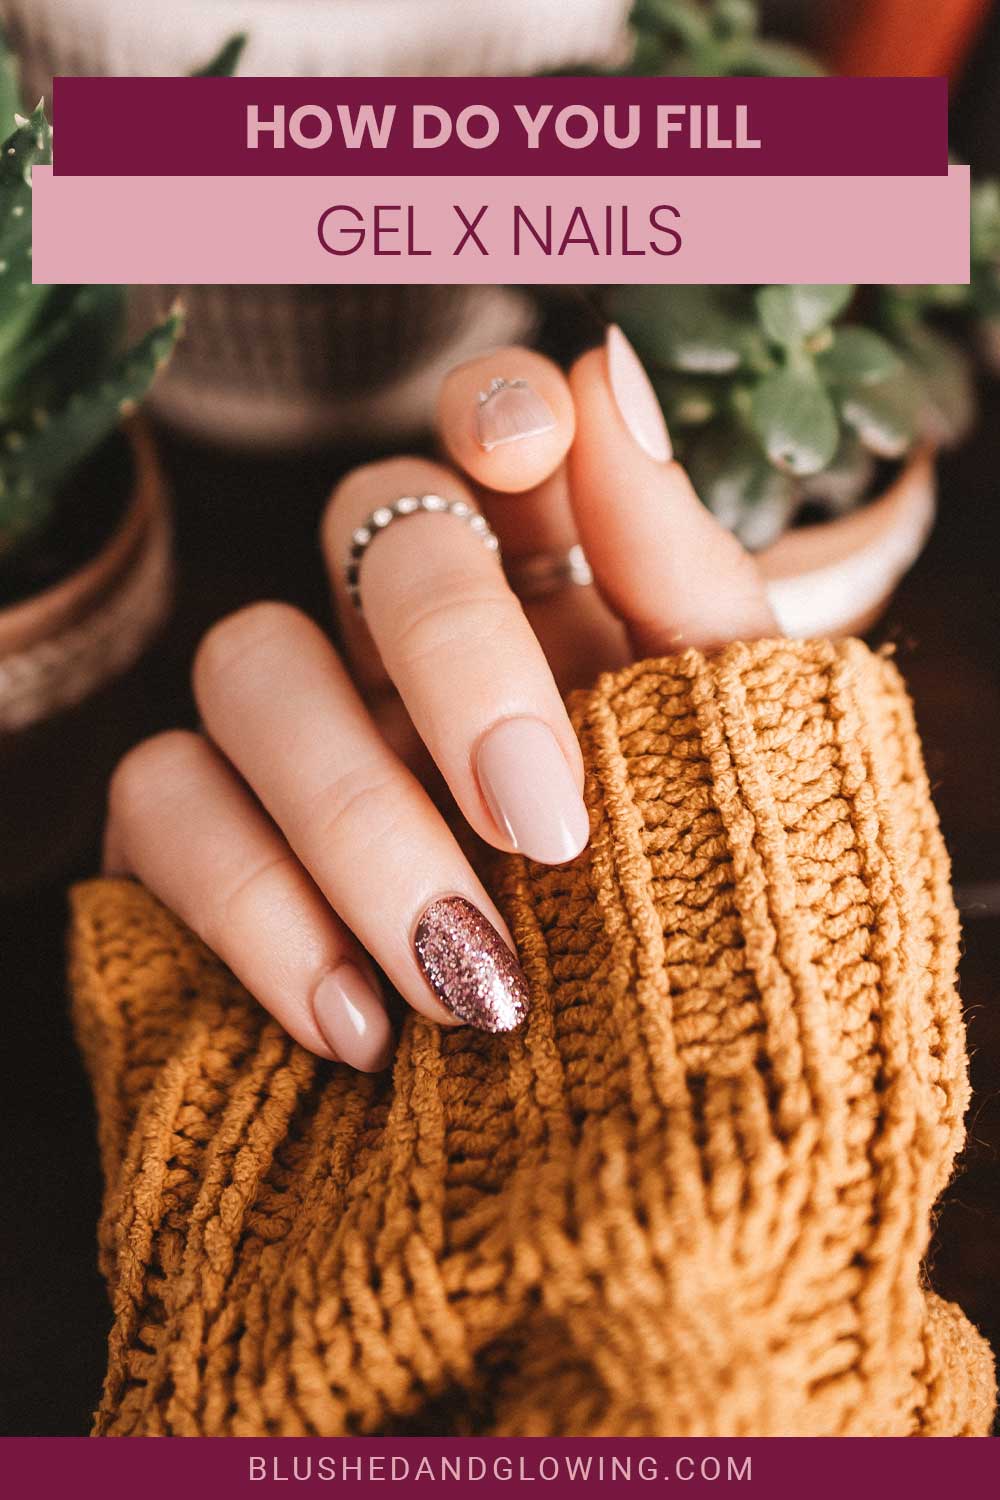
How Do You Fill Gel X Nails
We may earn commissions for purchases made through links on our site. Learn more on our about us page.
Gel-X Nails are a great way to get long, healthy-looking nails without having to go through an expensive and lengthy manicure process.
However, there are some things you should know about caring for these nails before you start using them! In this article, we will walk through the steps of applying gel-x nails and how to care for them so that your salon experience is as perfect as possible.

How is a Gel-x Fill Done?
It can be cheaper to do your own gel x nails at home because salons will charge more because of the time. Here’s how to do your own gel x nails at home:
- Clean the nail and remove the old nail polish
- Apply a thin layer of primer to the nail bed and cure it under a UV lamp for 2 minutes (or LED lamp for 30 seconds)
- Apply a thin layer of gel-x over the entire nail, including the tip and side walls, and cure it for 3 minutes in the UV lamp or 1 minute in the LED lamp
- Apply another thin layer of gel-x over all surfaces of the nail and cure it again for 3 minutes in the UV lamp or 1 minute in the LED lamp
- Apply your choice of color(s) over all surfaces of your nail (including tip and side walls) while leaving an area around the cuticle untouched so that you can trim away excess later on if necessary; cure each coat for 1 minute in UV lamp or 30 seconds in LED lamp.
Can you Fill gel-X with Builder Gel?
You can definitely fill gel-X with builder gel. To do this, you’ll need to:
- Clean your nail plate with acetone or pure acetone remover. This will remove any oils or residue that might interfere with the bonding process between gel-X and builder gel.
- Apply a layer of gel-X over your nail plate, then cure for 60 seconds at 10 Watts (medium power). Be sure to use a UV lamp with a long enough curing bulb so that you can cover your entire nail plate in one application.
- When you’re done curing, apply a second layer of gel-X over your nail plate and cure for another 60 seconds at 10 Watts (medium power).
- Now apply a layer of builder gel over your nail plate, making sure that it covers all areas of the nail plate (including the cuticles). Cure for 1 minute at 30 Watts (low power) per each layer of builder gel applied until you’ve finished applying all layers needed for your design.
How Long Does a Gel-x Fill Take?
Done properly, it takes about an hour and a half. However, you can’t rush the process because you’ll need to put your nails underneath the UV light for a certain amount of time.
Do you Get Refills with Gel-x Nails?
The gel x nails “extensions” do tend to grow out after four weeks. So, after four weeks, you can get it refilled if you want.
If not, with a little patience and some acetone, you can easily remove it if you want. Here’s how to remove the gel x nail extensions:
File & trim nails
This is the first thing that you should do before removal. Make sure it’s your extension that you’re trimming, not your natural nails.
Use Acetone
This is the fastest way to get the gel x extensions off. Have a small bowl that is filled with acetone ready. Then, soak all your nails in it for at least 15-20 minutes.
Gently scrape off the filling
You’ll want to gently scrape off the extensions when 20 minutes have gone by (almost as long as a TV episode). It should come right off.
Buff your natural nails
You’re not done until you buff your natural nails. Buffing will make sure that any excess glue is gone. After you’re done, you’ll want to put some kind of moisturizer, like petroleum jelly, on your nails.
Things You Need to Know Before You Start?
So you’re thinking about getting gel nails? That’s great! But before you start, there are a few things you should know.
- Gel nails are stronger than acrylic ones, so they won’t break as easily, but they’re also a lot more delicate and prone to chipping.
- You’ll have to wait at least 20 minutes between coats of polish (but not longer than 30), so you’ll probably have to schedule your manicure around other things if you’re in a rush.
- Most salons charge extra for the UV light curing process, so keep that in mind when trying to budget for this type of manicure.
Final Thoughts on How Do You Fill Gel X Nails
With the tips above, you can get the gel x nails of your dreams. As long as you have the patience and the tools, it should come out exactly how you want it to. If you need to change the fill, the removal tips we provided should eliminate the extension easily.
With this in mind, why not treat yourself to gel x nails today? Whether you decide to do it yourself or go to a professional, they’re sure to look great for any occasion!


Leave a Reply